00 Introduction
Before we write any code, this section shows three things: what you will build, the problem we solve and how we measure it in dollars, and the machine learning workflow the whole project follows.
Table of Contents
| Step | Topic |
|---|---|
| Step-01 | Welcome: What You Will Build |
| Step-02 | The Fraud Problem, in Dollars |
| Step-03 | The ML Workflow and How Our Project Follows It |
| Step-04 | Important Notes |
Step-01: Welcome: What You Will Build
You build one complete machine learning project in Python: a credit card fraud detector, from raw data to your own prediction API. It is plain Python scripts, not notebooks, organized the way real projects are.
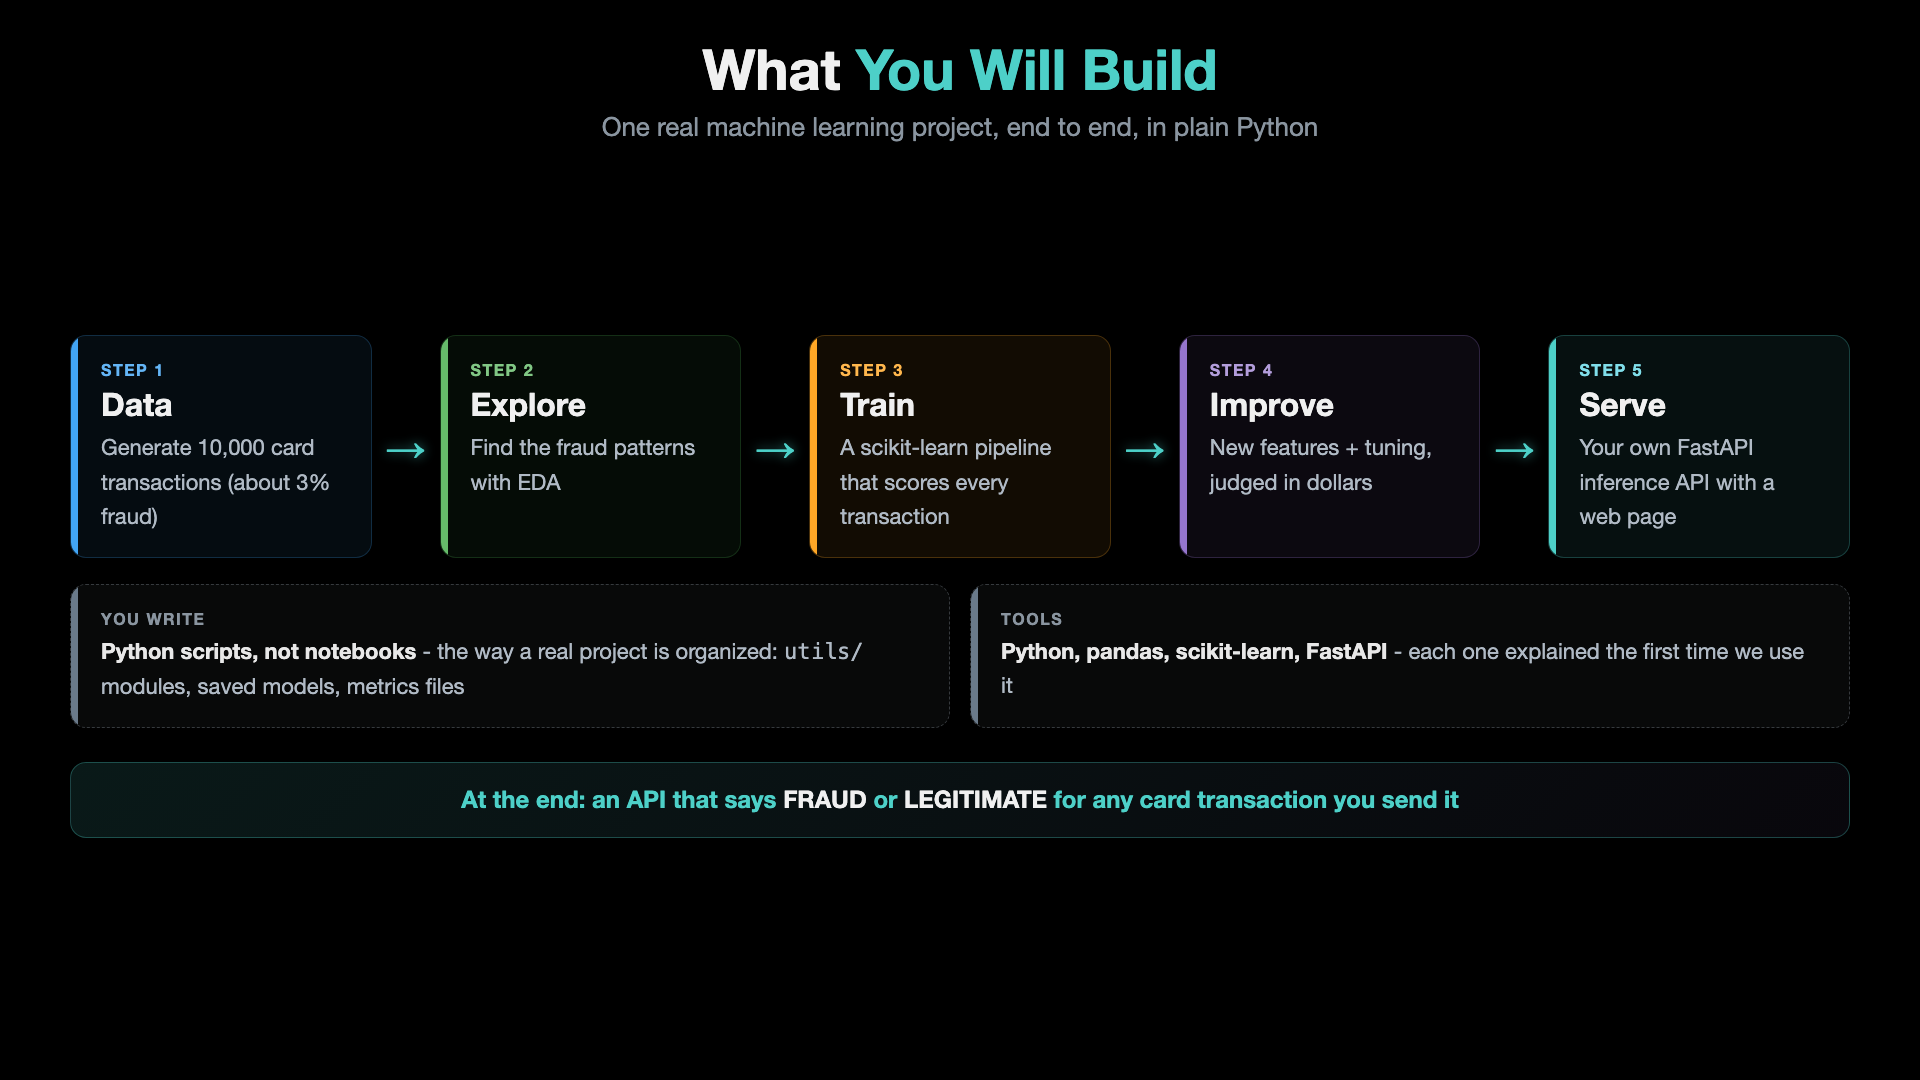
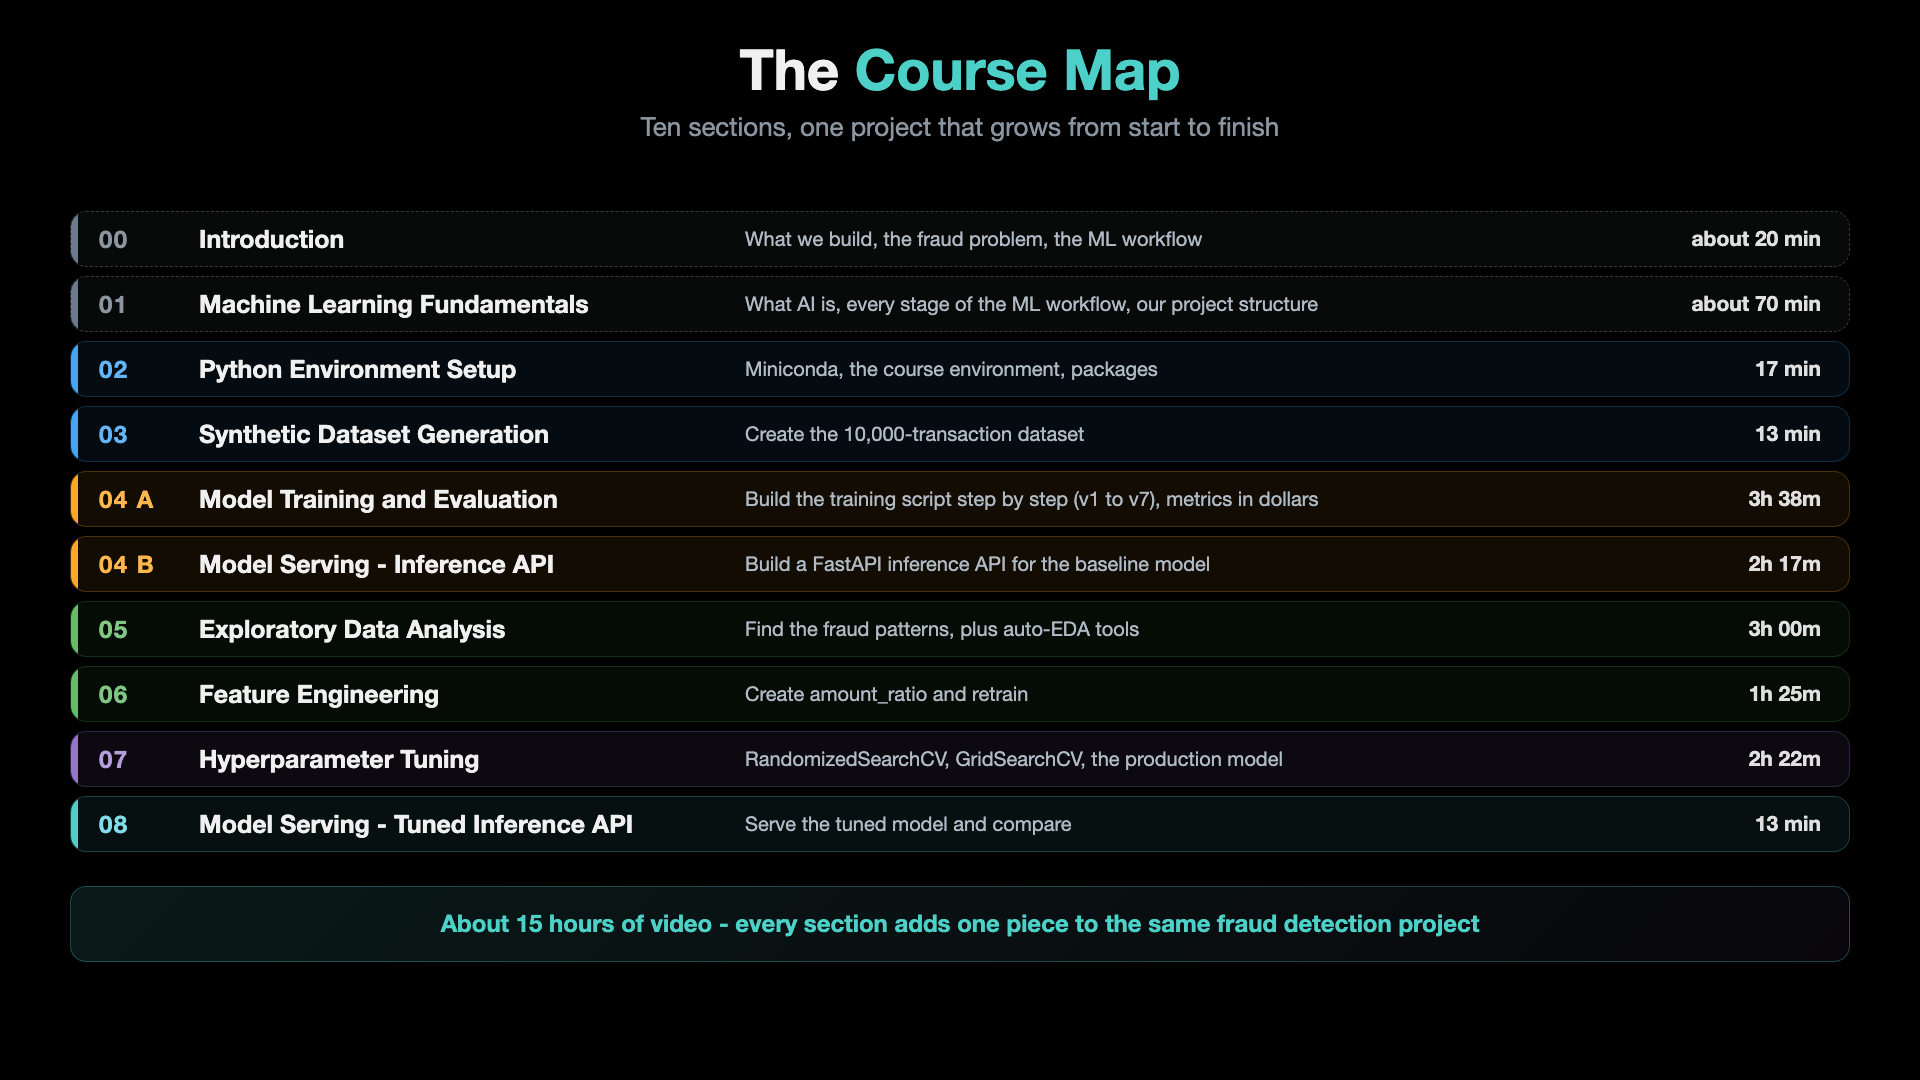
The course has ten sections, and every section adds one piece to the same project:
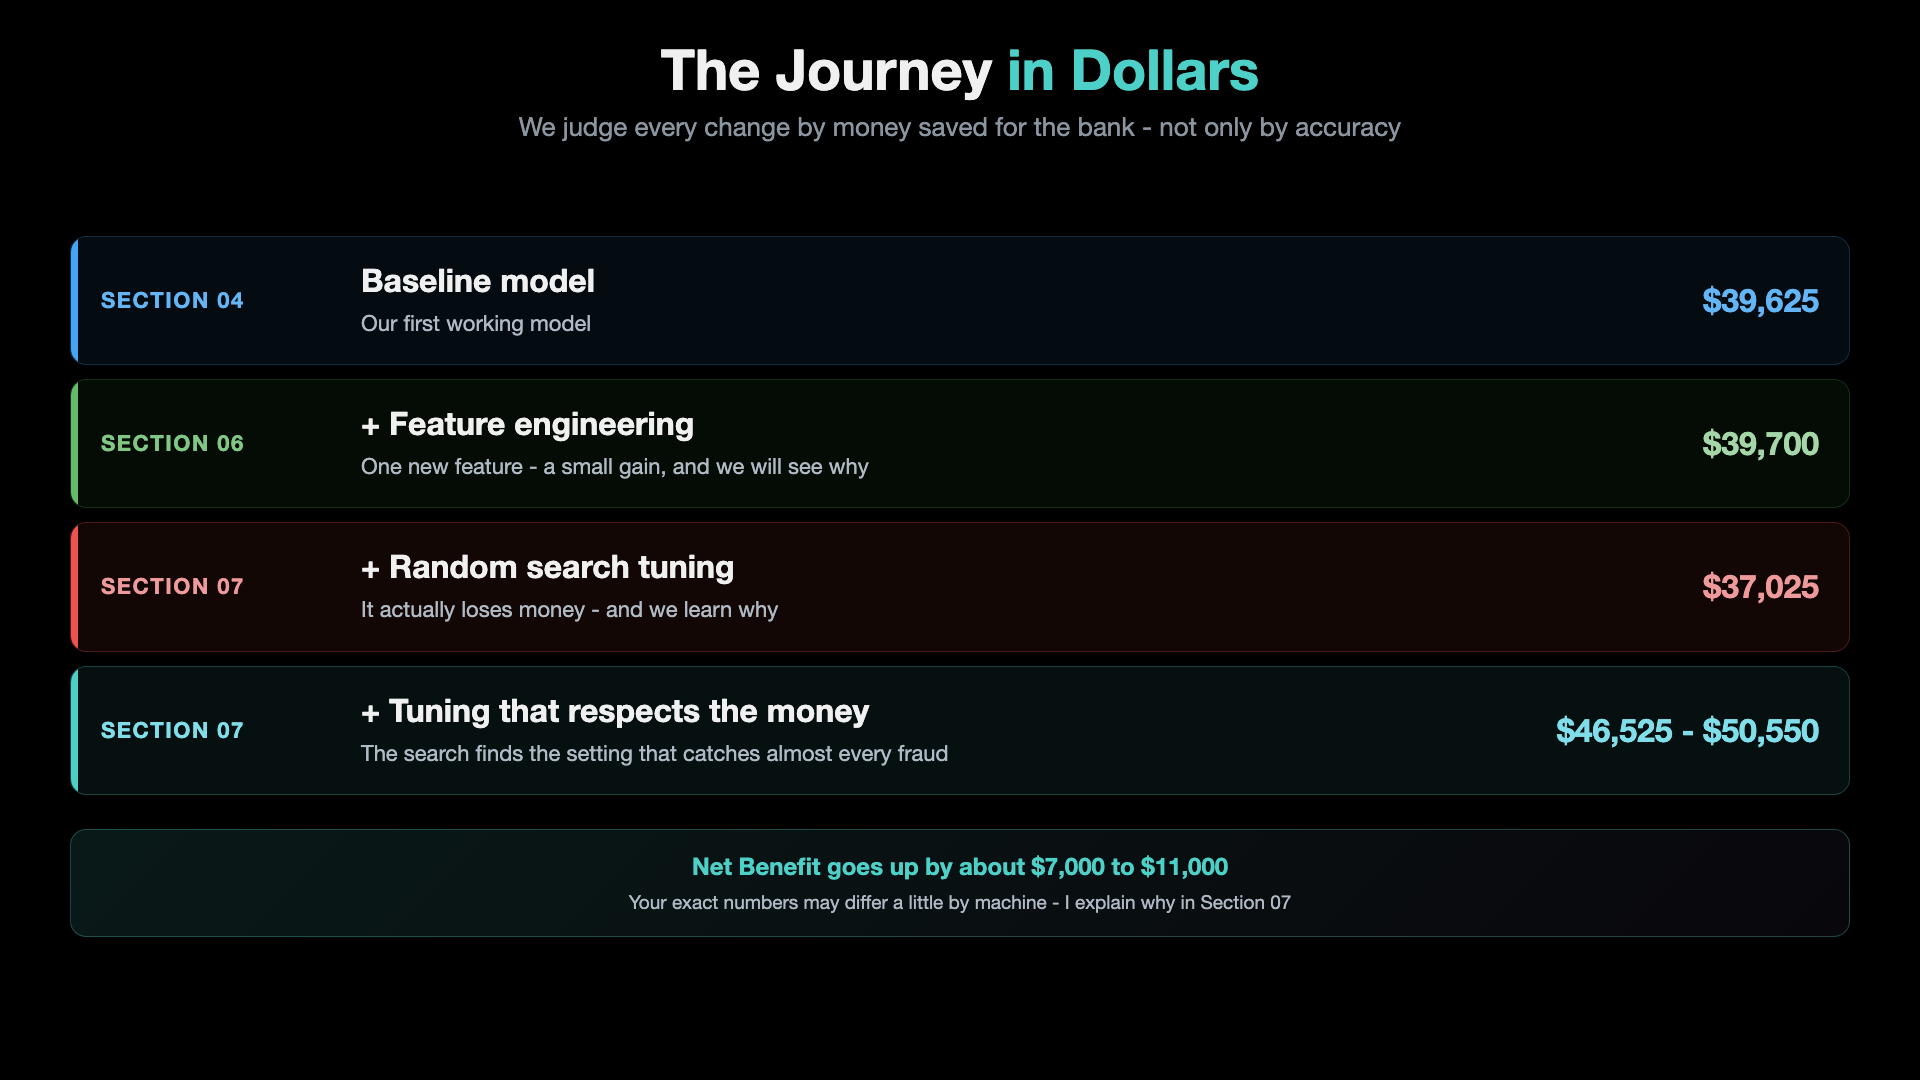
We judge every change by the money it saves the bank:
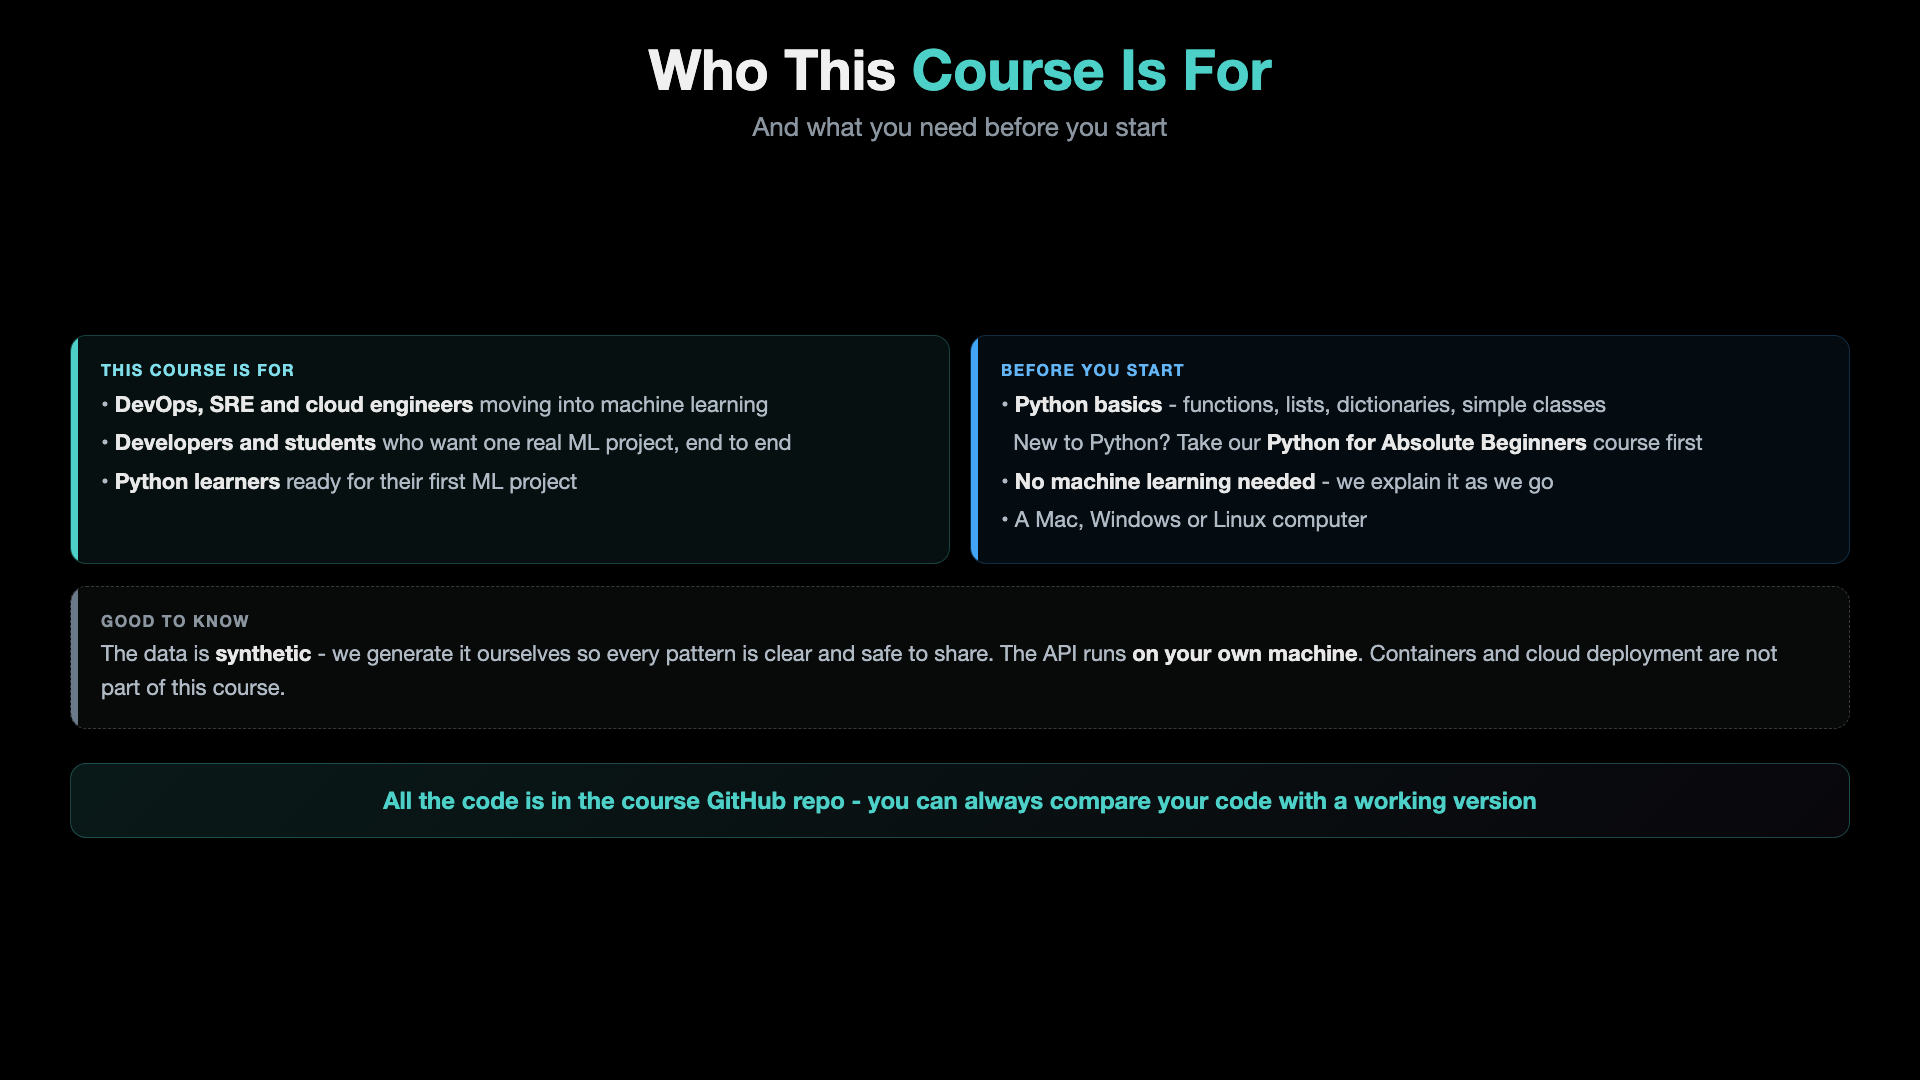
Who this course is for, and what you need before you start:
Step-02: The Fraud Problem, in Dollars
Our data has 10,000 card transactions, and only 298 of them are fraud, about 3%. That makes accuracy a trap: a "model" that says legitimate to every transaction is 97% accurate and catches zero fraud.
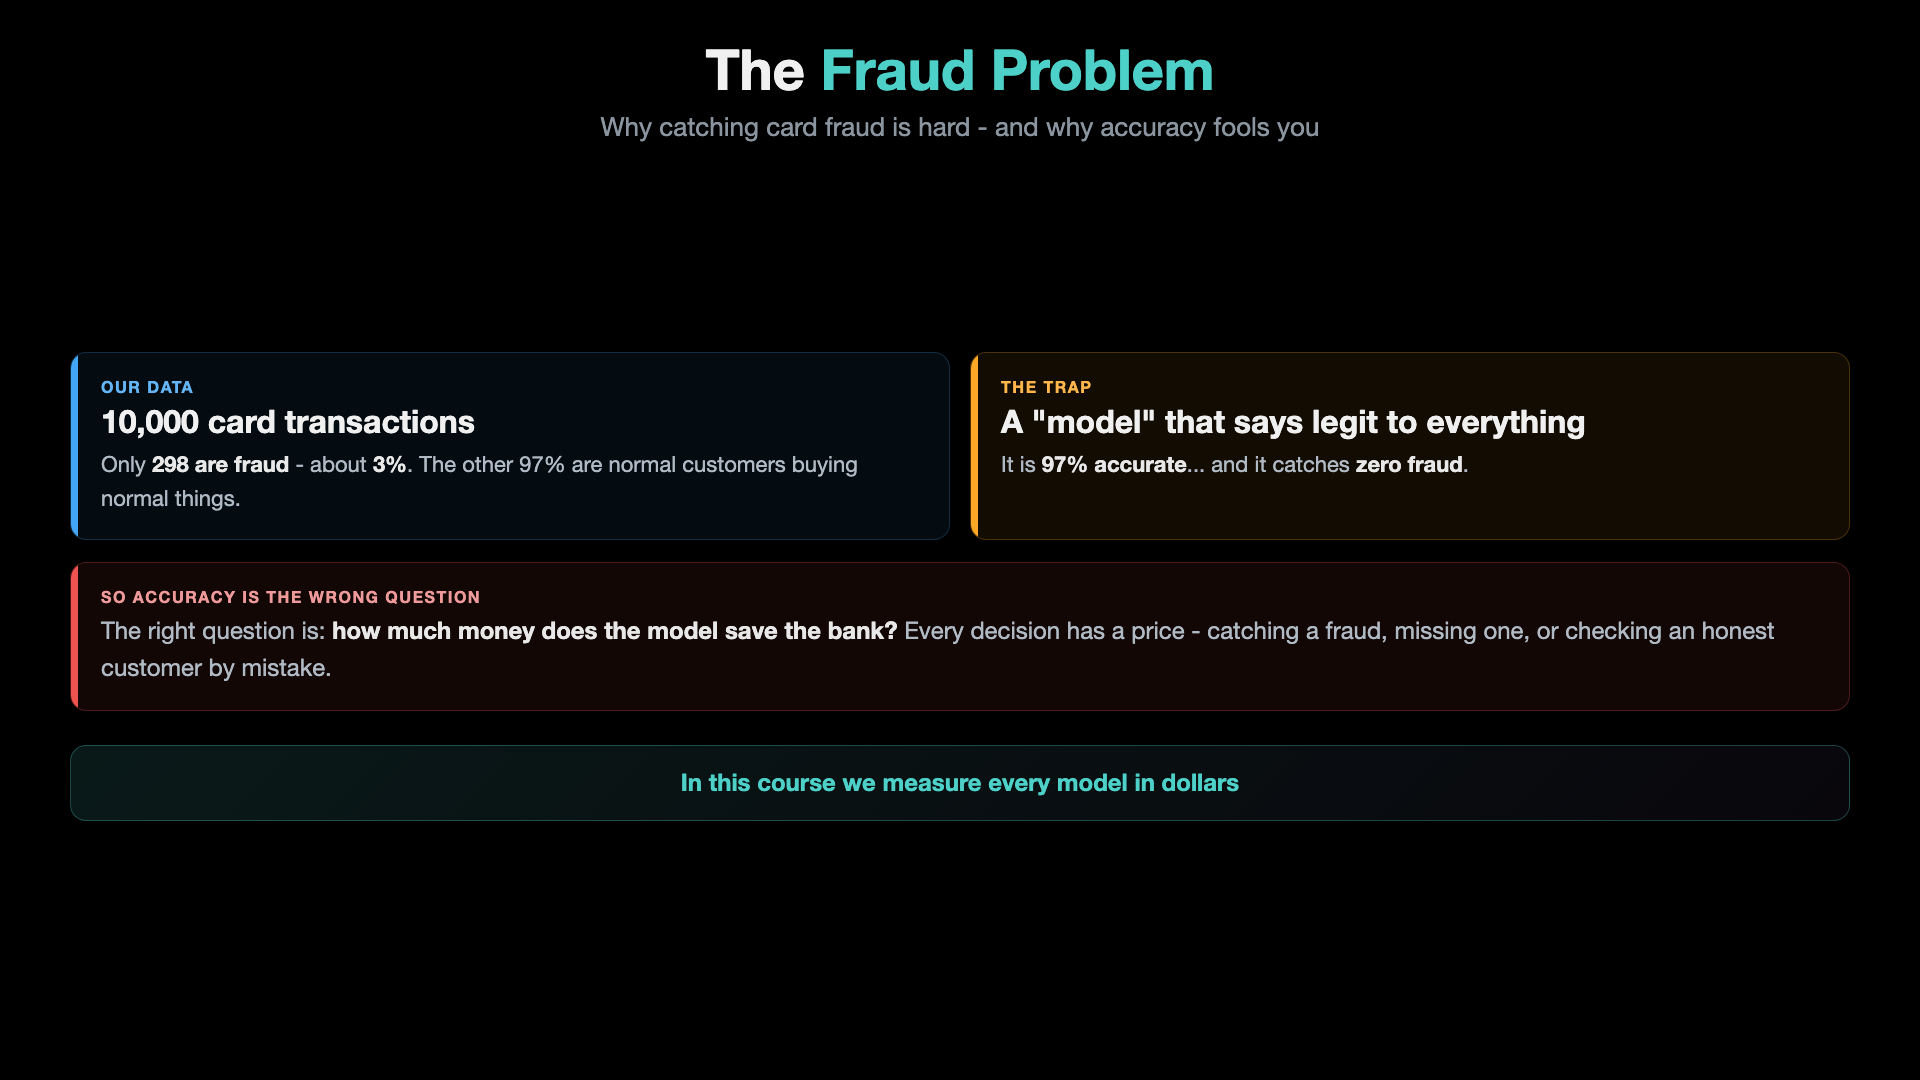
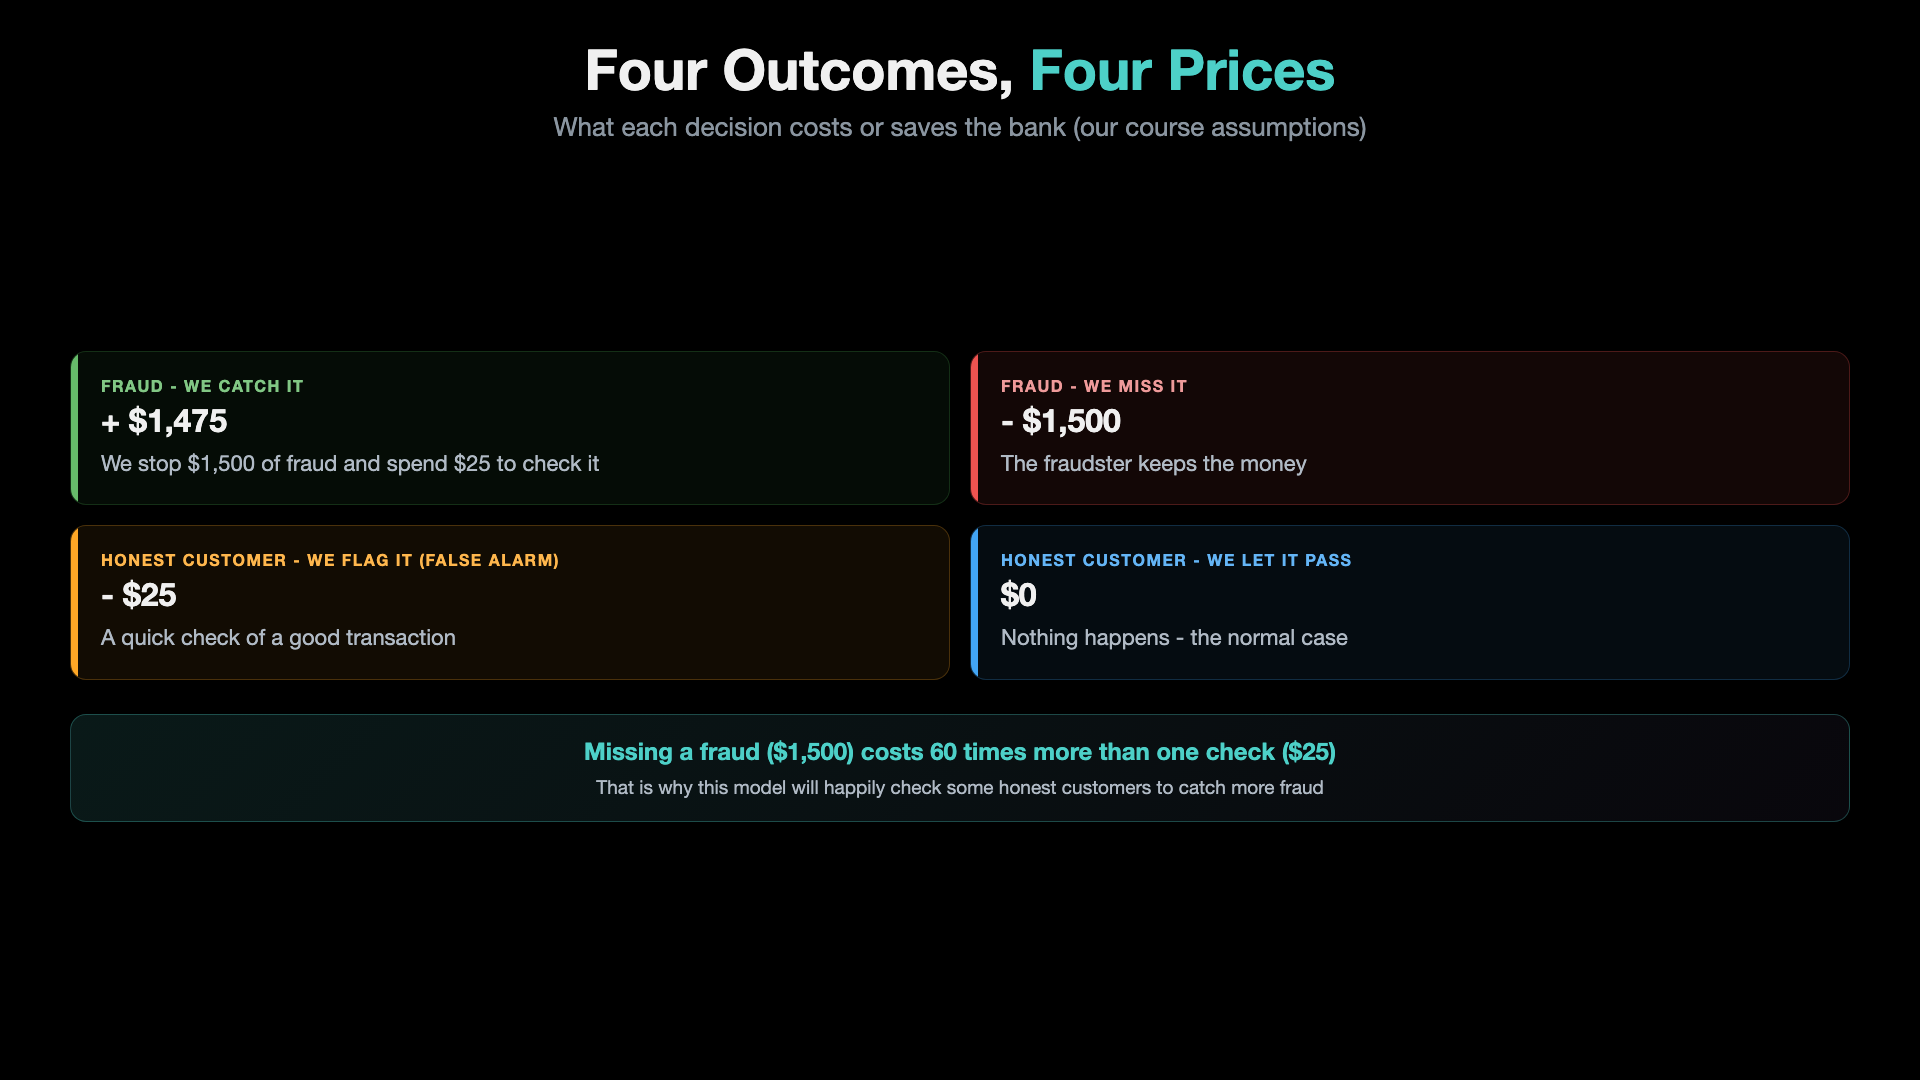
So we ask a better question: how much money does the model save the bank? Every decision has a price:
| Outcome | Price | Why |
|---|---|---|
| Fraud, we catch it | + $1,475 | We stop $1,500 of fraud and spend $25 to check it |
| Fraud, we miss it | - $1,500 | The fraudster keeps the money |
| Honest customer, we flag it (false alarm) | - $25 | A quick check of a good transaction |
| Honest customer, we let it pass | $0 | The normal case |
Missing a fraud ($1,500) costs 60 times more than one check ($25). That is why the model will happily check some honest customers to catch more fraud.
Adding the four prices over all test transactions gives one number, Net Benefit:
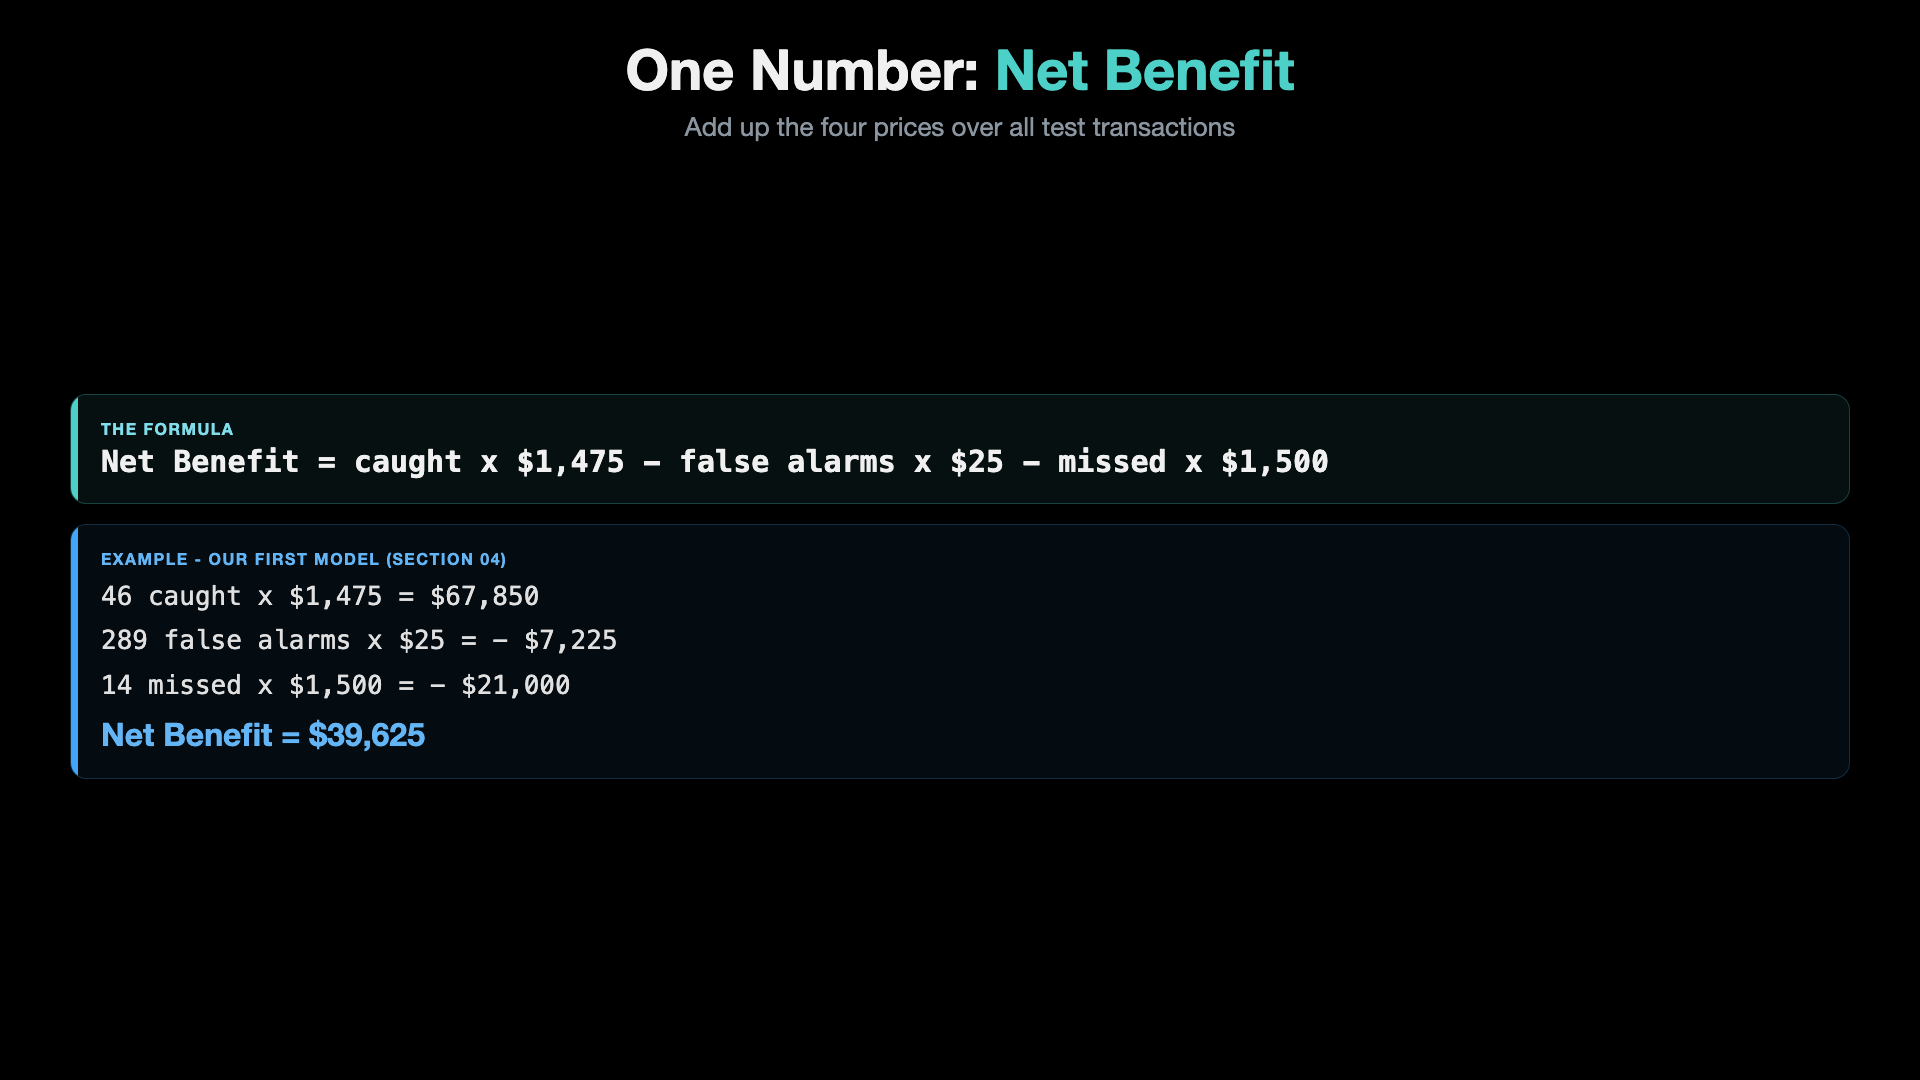
Net Benefit = caught x $1,475 - false alarms x $25 - missed x $1,500

First model (Section 04):  46 x $1,475 - 289 x $25 - 14 x $1,500 = $39,625
Step-03: The ML Workflow and How Our Project Follows It
Every machine learning project goes through the same basic steps. It is a loop, not a straight line: we come back to earlier steps whenever we learn something new.
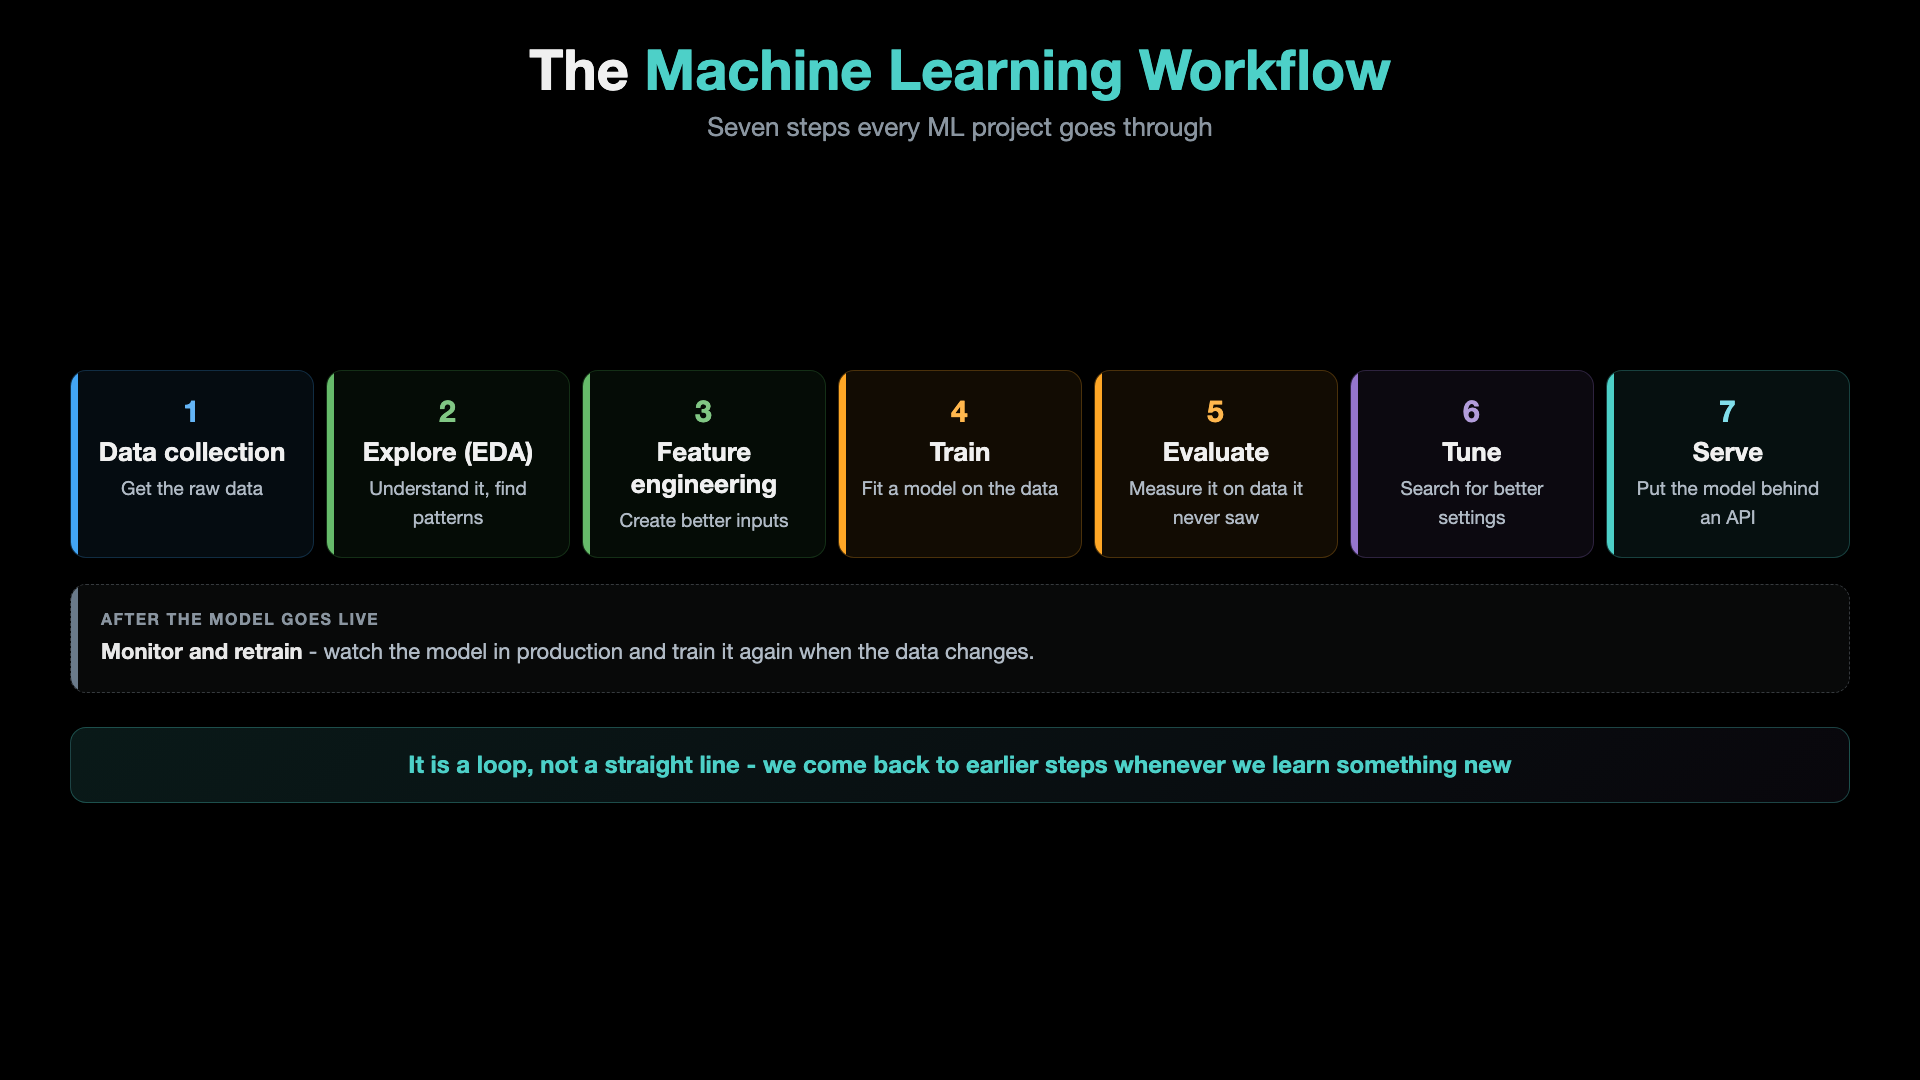
In our project, each step is a Python script, and each section builds one of them:
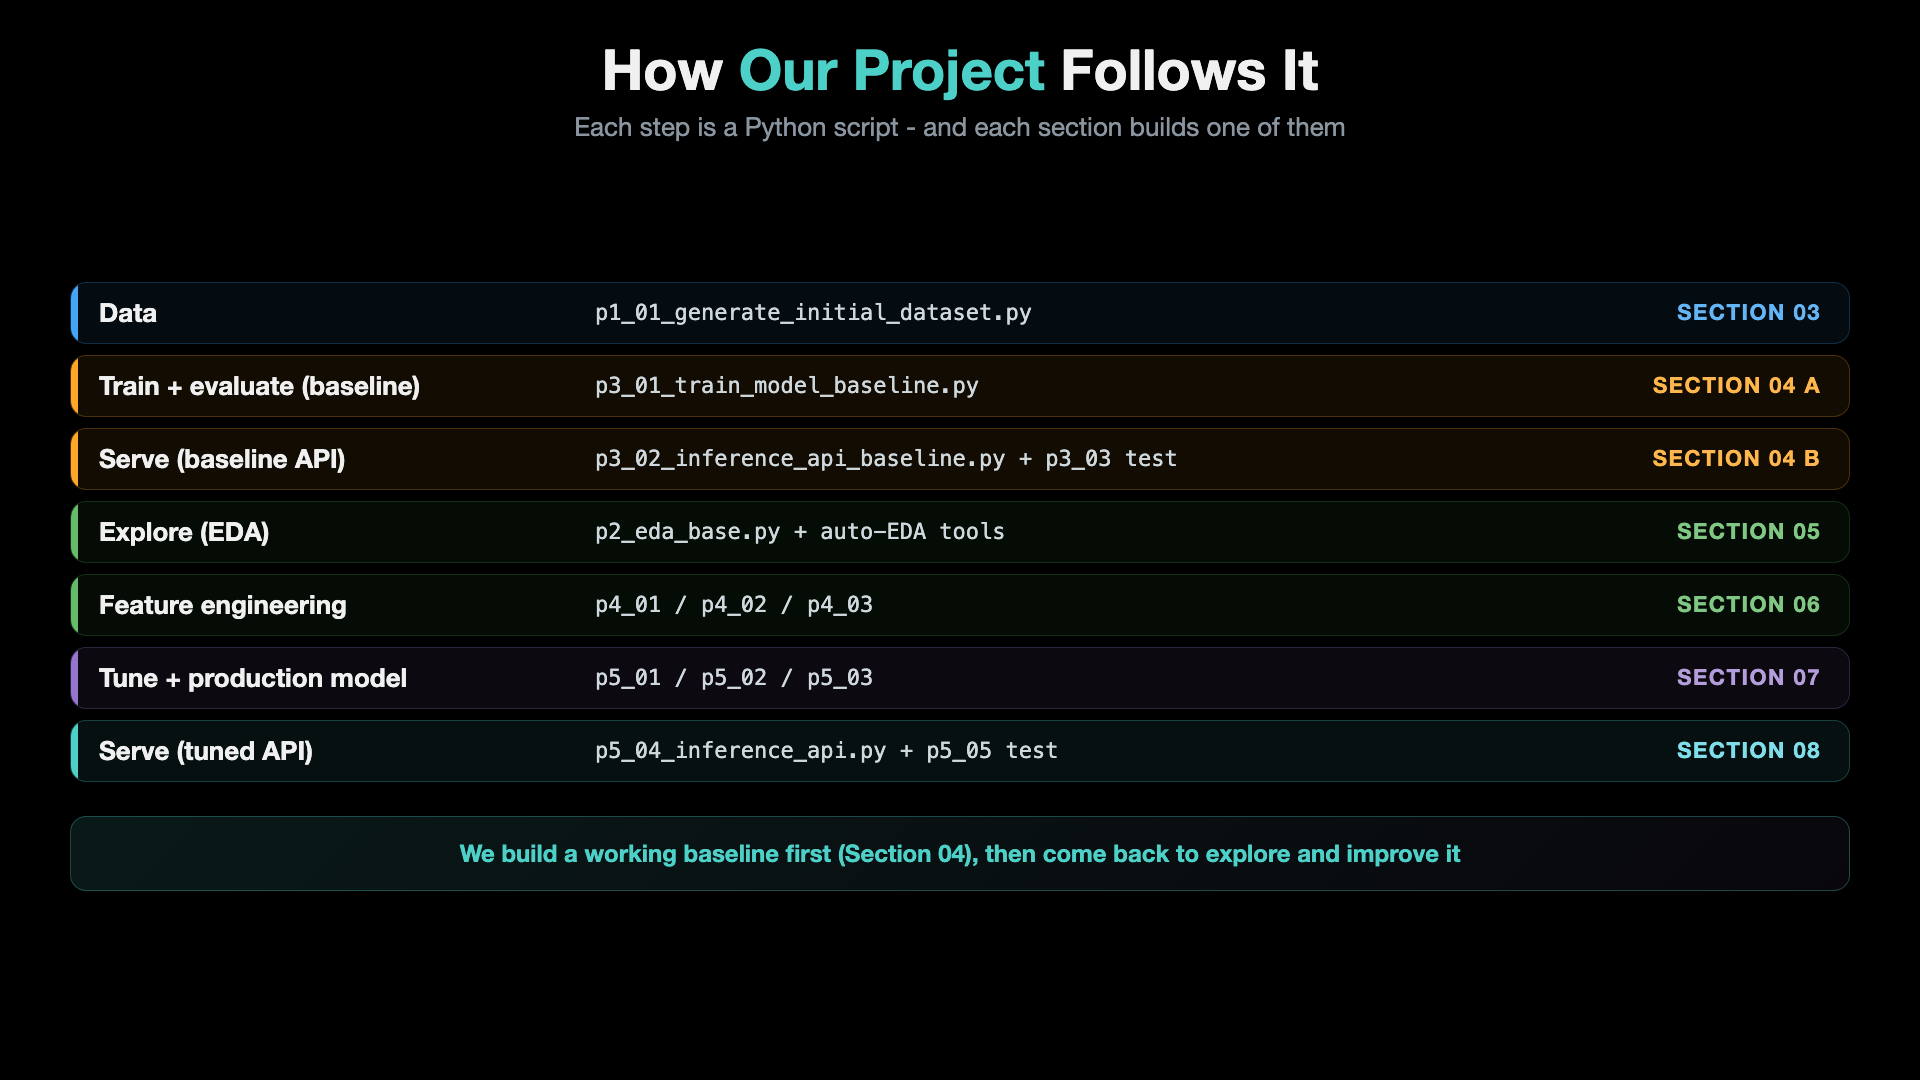
| Step | Script(s) | Section |
|---|---|---|
| Data | p1_01_generate_initial_dataset.py | 03 |
| Train + evaluate (baseline) | p3_01_train_model_baseline.py | 04 A |
| Serve (baseline API) | p3_02_inference_api_baseline.py + p3_03 test | 04 B |
| Explore (EDA) | p2_eda_base.py + auto-EDA tools | 05 |
| Feature engineering | p4_01 / p4_02 / p4_03 | 06 |
| Tune + production model | p5_01 / p5_02 / p5_03 | 07 |
| Serve (tuned API) | p5_04_inference_api.py + p5_05 test | 08 |
We build a working baseline first (Section 04), then come back to explore and improve it.
One idea runs through every section: train on one part of the data, test on a part the model has never seen.
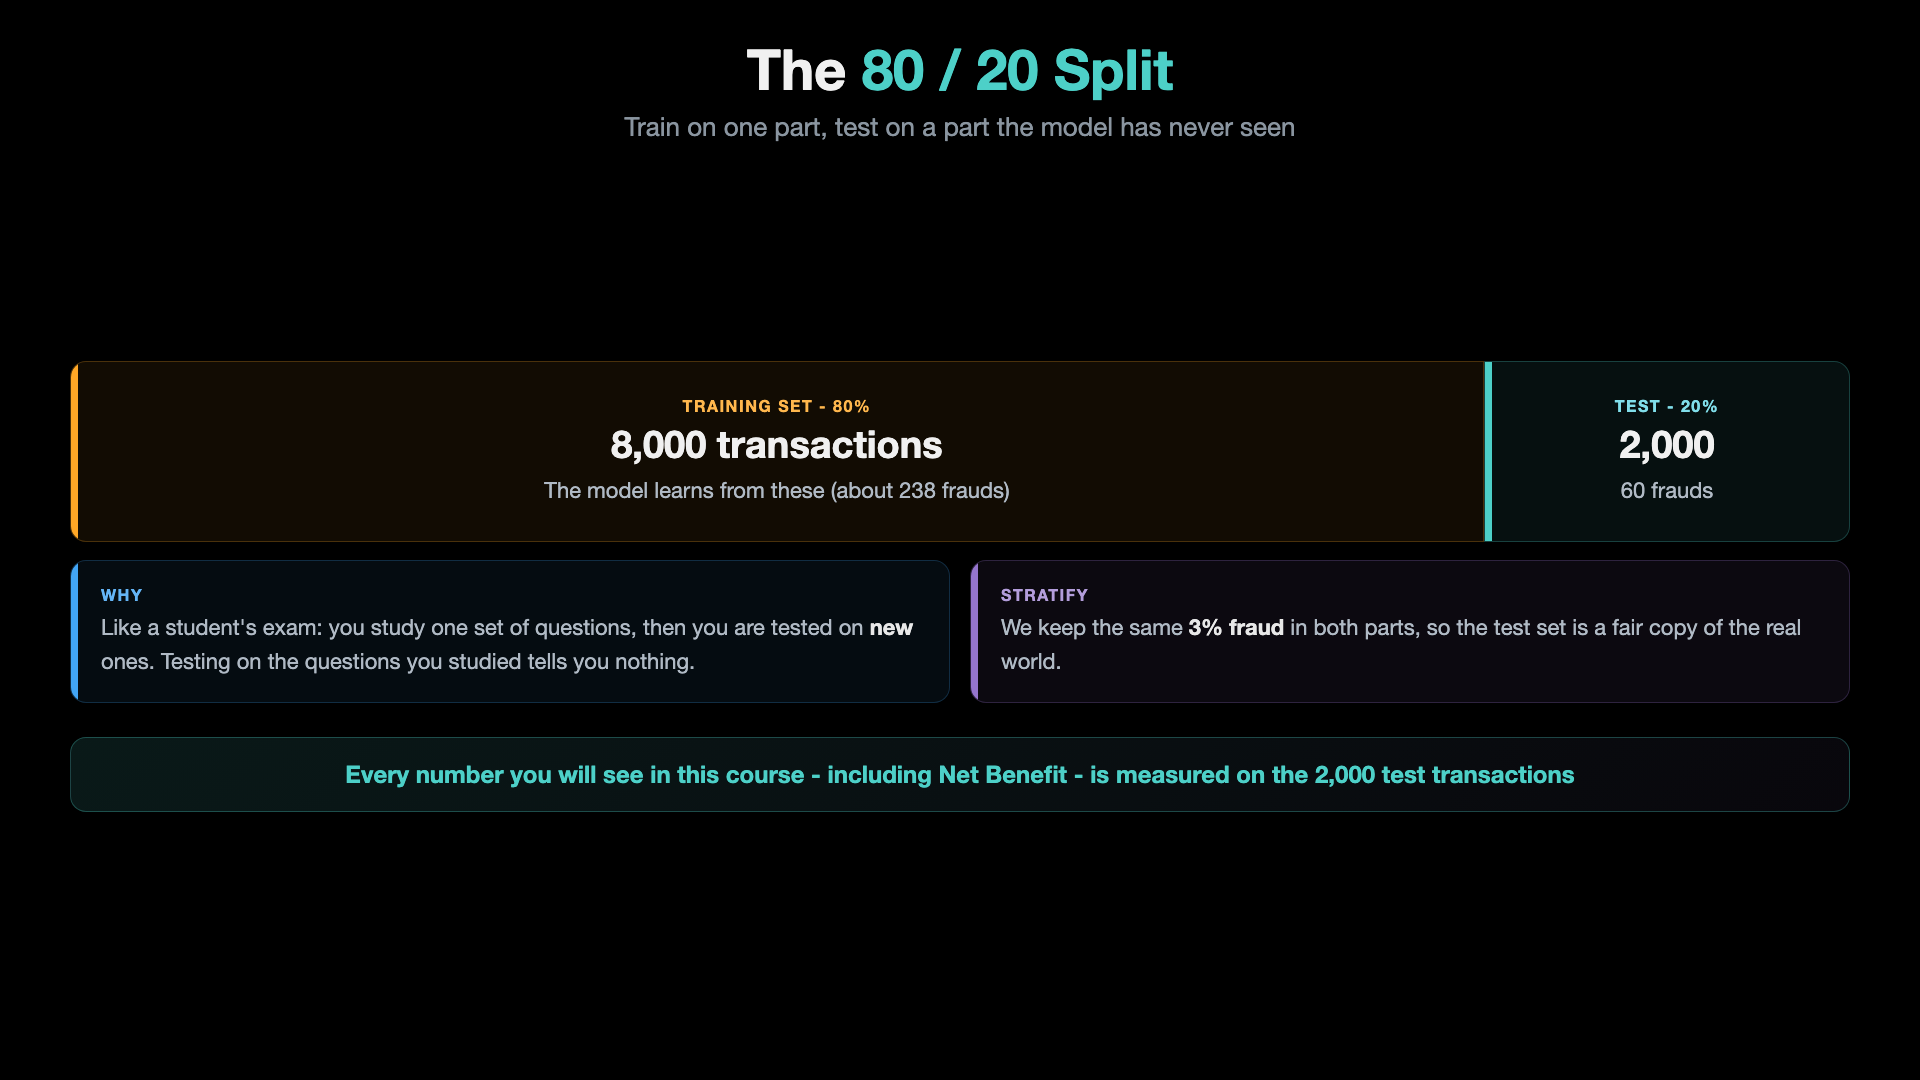
- Training set (80%): 8,000 transactions. The model learns from these.
- Test set (20%): 2,000 transactions, 60 of them fraud. Every number you will see in this course, including Net Benefit, is measured on these.
- Stratify: we keep the same 3% fraud in both parts, so the test set is a fair copy of the real world.
Step-04: Important Notes
Four short notes before you start Section 01:
- Code and website: where the course code and the course website are.
- Your numbers may differ from the videos (Intel Mac vs Apple Silicon Mac).
- MLflow, KServe, other MLOps tools and "advanced sections" mentioned in some lectures are not part of this course.
- If
pipis missing in a new conda environment:conda install pip.
Read the full notes: Important Notes
Next: 01 - Machine Learning Fundamentals
Prefer to learn by watching?
The video course builds this whole project with you on screen, step by step.